PICKLING ASPARAGUS
Monday May 09th 2011, 9:18 am
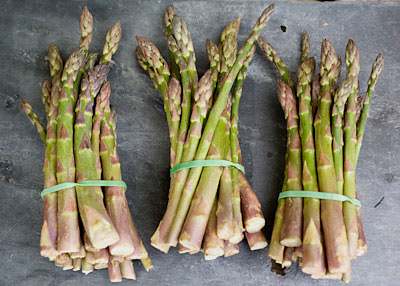
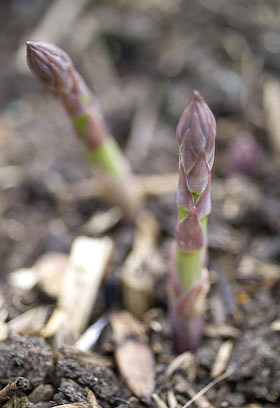
The asparagus season is in full swing. 14 of the 15 crowns planted in my newly prepared asparagus bed have started to appear, sending up very fine spears that then become frothy graceful ferns. They must be left alone for the time being to build up energy and form good sound crowns for the years ahead and I must be patient. I’m hoping the 15th crown is OK and wonder if I could have planted it upside down, and if I did, will it find its way right way up in time?
The other day I came across some bargain priced asparagus at the supermarket that had reached its sell by date, so was going cheap, half price in fact. Recognising a bargain when I see one, I bought up the lot so I could do some pickling. Since the Canjam last year, when other canners participating produced pickled asparagus, I’ve been wanting to experience this preserve first hand, but with this prized vegetable never exactly in abundant supply and always required for immediate scoffing, I couldn’t envisage when the opportunity to pickle some would arise. So watch what you wish for, here was my golden opportunity and I grabbed it with both hands.
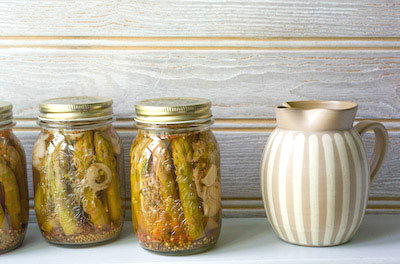
I am now the proud owner of 5 x 500ml (1 pint) jars of pickled asparagus. I canned 3 to start with then had the idea to add the last of some wild garlic flowers, picked that day, so canned a couple more jars. I have no intention of sampling these pickles until the memory of the fresh English stuff is a distant memory, as this is not intended as a replacement for what is available in season right this minute. Some pickled spears, served with hard-boiled eggs, a handful of salad leaves and a wedge of homemade bread and butter will be a simple lunch to look forward too in 6 months time.

Fitting the spears into the jars is a wasteful business as they do need to be trimmed especially short to fit. I made asparagus soup with the stem cut-offs, so none went to waste, but shorter dumpier spears to start with makes the task less painful. There is no way I would have wanted to do this if I’d paid top wack for my ingredients.
PICKLING ASPARAGUS
I used 2 x 200g bundles of fresh asparagus spears to fill each 500ml (1 pint) jar, but it will depend how long the stems are and how much stem you’ll need to chop off so they fit into the jars. Allow a few more spears so they can be packed tightly into the jars and cut them so they fit snuggly and sit below the level of vinegar headspace when packed upright in the jars.
For each 500ml (1 pint) jar allow:
400g (1/2 lb) asparagus spears
120ml (1/2 cup) white wine vinegar
120ml (1/2 cup) water
1 tsp dill seed
1/4 tsp chilli flakes
1 tsp sea salt
1 small shallot, finely sliced
1/2 clove garlic, sliced
6 fresh wild garlic flowers (optional)
*Prepare the canning bath and keep your empty jars submerged in there until they are needed. Prepare lids in another pan of simmering water. Blanch the asparagus spears fleetingly in boiling water for 60 seconds, then drain them and cool immediately with cold water, so they don’t cook any further. Mix the vinegar and water in a pan and bring to a simmer.
Place the salt and spices in each jar, then pack the asparagus spears upright (or you can do them pointing down if you like!) in the jars, adding the shreds of shallot and garlic, and the wild garlic flowerheads in amongst them as you go. Pour in the vinegar/water to cover the asparagus, leaving the headroom necessary for your type of jar. De-bubble, to release any trapped air pockets surrounding the spears, using a chop stick or thin spatula. Wipe the jar rims clean and seal. Process for 10 minutes, then remove from the canner and leave until cold before testing the seals.
*Once canned like this your pickled asparagus will keep for a year or even longer. Pickling can be done successfully without hot water processing so long as the acidity of the vinegar / water used is high enough. Canning removes the guesswork!

RHUBARB FOR SALE
Friday May 21st 2010, 8:32 pm
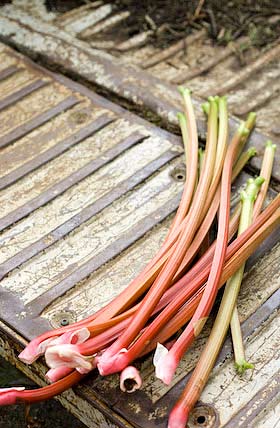
Month five Tigress’s can jam canning challenge and for May there are two ingredients to choose from; asparagus and rhubarb. Asparagus is still quite hard to come by locally. I found some in the Co-op but as it has come all the way from Peru I decided to give it a miss. I have a hard and fast rule to only buy English asparagus, which therefore means I only buy it during the 6-8 weeks that it is in season. I did buy an organic bundle in the deli here at Taurus Crafts, where my shop is situated, but it was quite expensive, so there was no way I would be prepared to mess about with such a prized ingredient other than to devour it chargrilled for my supper. So that leaves rhubarb, a crop I have already been working with for the last two and a half months but that is such a favourite of mine that I have yet to tire of it.
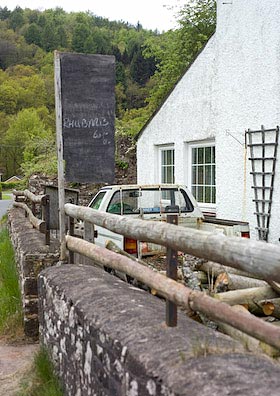
As luck will have it, whilst driving through the Forest of Dean I happened upon someone selling rhubarb at a very reasonable price from his smallholding. This place is a real find and I know that I will go back there often from now on, as he grows a great selection of soft fruits which will be really useful for preserving as the summer unfolds. I stupidly didn’t ask the man’s name, but will be sure too on my next visit. When I parked up and knocked on his door, my rhubarb was yet to be picked, so I knew it was as fresh as could be when the generous bundle was handed to me for a snip. Rhubarb is a strange crop. It grows really easily and can be seen in abundance in local allotments and gardens, but it is hard to find for sale and supermarkets rarely sell it. Tesco stock it most of the time but don’t always source British never mind locally. I saw it for sale earlier in the year shipped from New Zealand, which seems extraordinary when there are varieties in the UK which can grow almost all year round. So as I drove back home, with my canjam ingredient on the seat beside me, what was left to decide was what to make next.

I have already made a rhubarb marmalade, a rhubarb jam and a rhubarb cordial this year, so in the quest for something different I have decided to opt this time for a ketchup. Chutneys, sauces, relishes and ketchups are all kind of similar, except that they vary in texture and consistency. I fancied a ketchup that was smooth, with no recognisable pieces or chunks. I thought that if I kept the ingredients pale; white sugar, golden sultanas etc, I might just get away with a pinkish looking result. It wasn’t to be, as it cooked down it did take on a pinkish hue but of a beige variety. At that point I had to decide whether to stick with boring unattractive beige or whether to make the colour deeper and richer. I opted for the latter and added some balsamic vinegar. This has only a slight impact on the eventual taste of the ketchup so may seem a rather superficial consideration, but for me the downside of my ketchup is that what I have ended up with is brown. Brown, brown, brown. One of the most wonderful qualities rhubarb posesses is its colour. What a blunder, I should have made a beautiful clear rhubarb jelly instead to add to my already groaning rhubarb preserve mountain. However, now I’ve come to terms with the lack lustre appearance, the taste is making up for it. A sort of wolf in sheeps clothing scenario. I’m beginning to fantasise about dolloping ketchup on bubble and squeak, as a relish on a Double Gloucester sandwich or even with yoghurt and extra virgin rapeseed oil to dress some homegrown salad leaves. It may be brown but it is a winner all the same.
A while back I had an email from someone in the US who had bought my book. She said she was going to return the book to the shop the following day, accusing me of being ‘cavalier with ginger’. Amongst my friends, since then, this phrase has often been repeated and never fails to give us a laugh. My rhubarb ketchup is unashamedly cavalier with ginger, as rhubarb and ginger make such fine bed fellows. Obviously, if you aren’t a ginger fan, then tone it down to suit your taste. As usual when making chutneys, relishes and ketchups, that all contain vinegar, they do need a maturing phase to mellow the sharpness. This ketchup is surprisingly tasty straight away as I added some honey at the end which just takes the top edge off any harshness, but if you leave it for 3-6 weeks before opening you will find it well worth the wait. The result is fruity, spicy and I’m convinced it will be very versatile. I am not sure whether a strong enough ‘rhubarb’ vibe comes through yet, more of a lovely but general ‘fruity’ one, but I’ll see what it is like in a month or two and report back then. It is certainly worth making if you have rhubarb to spare that you hate to waste.
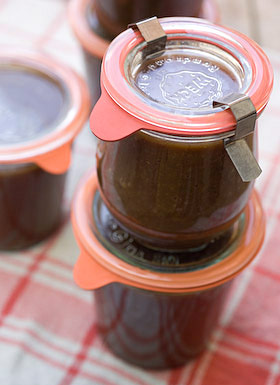
CAVALIER GINGER AND RHUBARB KETCHUP
Makes approx 1.6Kg (3 1/2 lbs)
1Kg (2lbs) chopped rhubarb
300g (10oz) onion (approx 3 med onions), chopped
325g (12oz) white sugar
1 Tbsp sea salt
600ml (1 pt) white wine vinegar
80ml (1/2 cup) balsamic vinegar
300g (10oz) raisins or sultanas
4 garlic cloves (approx 10g) peeled
4 knobs of ginger (approx 30g) peeled
2 tsp mustard seed
1 tsp allspice, ground
1tsp ground coriander
2 small dried chillis, crumbled
1/4 tsp cinnamon, ground
1/4 tsp cloves, ground
1 Tbsp honey
Place the rhubarb, onions sugar and sea salt in a non reactive preserving pan. Place the garlic, ginger, raisins (or sultanas) and vinegar in a food processor and pulse it to roughly chop everything together and break up the dried fruit. Add to the preserving pan along with the ground spices. Place the whole spices in a pestle and mortar and crush them roughly, then tip them into a piece of butter muslin, tie up in a parcel with string to secure and add to the pan.
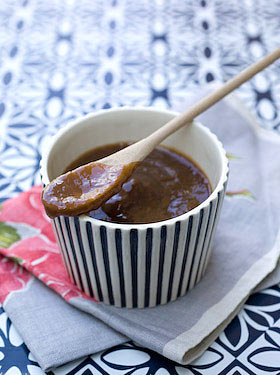
Bring to a simmer and cook until the fruit is soft, the onions are transparent and the consistency is beginning to thicken. Remove the spice bundle and push the contents of the pan through a sieve or use a food mill with a fine mesh, collecting the resulting smooth mixture. (This part of the job took rather longer than I’d have liked. Next time I will probably wizz the mixture in a blender or food processor first so it passes through the sieve faster.) Return to the pan.
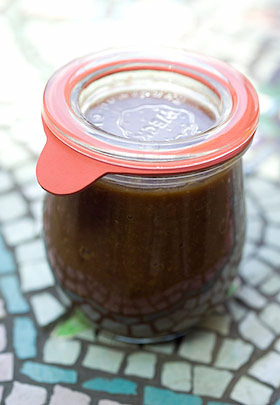
Prepare the water bath, jars and seals ready for canning. For more info about how to hot water process, refer to the guide here. Add the honey to the mixture and stir. Bring the contents of the pan to a simmer and cook further if necessary until the ketchup is of a suitable consistency, like tomato ketchup. Pour into the jars leaving required headroom, seal and hot water process for 10 minutes. Remove the jars from the water bath and leave them till completely cold before testing the seals. Label and store. Leave the ketchup for at least 3 weeks before using. Without water processing the ketchup will still keep for several months unopened.
‘Woman Beaten up over Asparagus Prices’
Tuesday May 19th 2009, 7:41 pm
…..not my words, but those of Reuters. Asparagus is obviously a vegetable that generates strong feelings.
I never buy imported asparagus. For me the whole point is to savour the all too short British season; the 8 weeks that runs from the beginning of May to the end of June, and then it is over for another year. I only really took a shine to this vegetable a couple of years ago. Before that I couldn’t understand what all the fuss was about. I simply hadn’t cooked asparagus in a way that suited me so concluded it wasn’t for me. Now I absolutely adore the stuff and intend to make the most of it.
The key for me is to chargrill it and here’s how to do it. Wash the spears and break off the thick woody bit of stalk at the bottom if there is any (the stalk naturally snaps at this point). Blanch them in boiling water for just 60 seconds then remove to a piece of kitchen paper to dry them. Put a griddle pan to heat up, there is no need to oil the pan. Place the spears on a flat dish, season with sea salt and freshly ground pepper then drizzle with virgin olive oil. Turn the spears over with your hands to coat them, then lay them on the hot griddle, hot enough so you hear them sizzle the moment they touch the ridges.
Griddle them for a few minutes (depending on the thickness of the spears) before turning them over and griddling the other sides. You are aiming for some black charred marks where they touch the pan. You can eat them just as they are or pile on top of pasta with pesto and finish off with grated parmesan. I can eat them like this every day (for 8 weeks!). I used to chargrill the spears without blanching them first but now prefer them done this way. It cuts down the grilling time and keeps them plump and succulent.
